Protected Photos, a new feature in Backlight 5, is relatively straight-forward, but has the potential to change the way your organize published images. In this article, we will walk you through how to use the new Protected Photos feature, and provide some case studies for scenarios in which you might want to use it.
From the start, Backlight has allowed you to protect albums in their entirety, either by access code, or by locking them behind a user login. In this way, albums were considered to be either public or private.
In Backlight 5, it is now possible to mingle private photos into public albums!
Try It!
Let’s first go hands-on to see how this works.
Visit our demonstration of Protected Photos; a link on that page will return you here.
Setting Up
The Protected Photos feature is comprised of several components. Let’s take a look at each of them.
Set the Magic Keyword
By default, the magic keyword “protected” is used to designate images as protected. However, this is customizable!
To change the magic keyword:
- Visit Backlight’s Settings page, under Admin => Settings.
- Click the “Edit Settings” button.
- Scroll down the page to find the “Privacy” section.
- Change the “Protected Photo Keyword”.
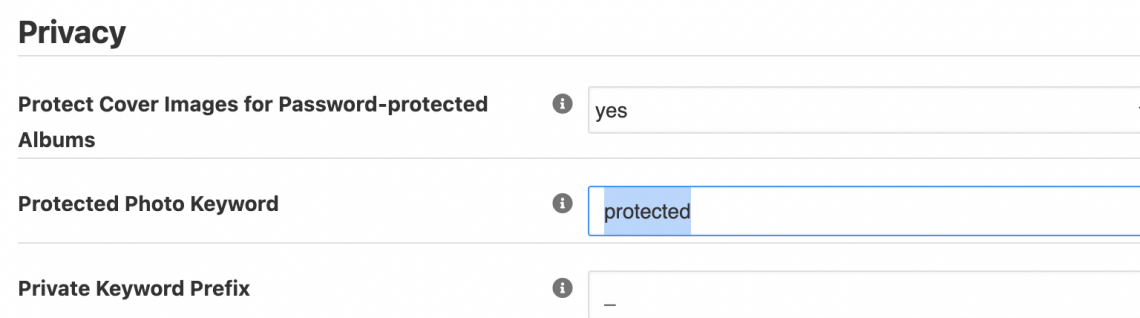
Note that any images previously marked with the previous magic keyword will no longer be protected! It’s best to change this before using the feature, and then never change it once you’ve started using it.
Apply the Magic Keyword
Now we have our magic keyword, we can put it to use. For the rest of this article, I’ll be using the default “protected”.
So, we can either apply the keyword to images in our DAM software (Lightroom, Capture One Pro, etc.), or we can do it in Backlight.
If applying in software, treat the keyword the same as any other. Apply it to the images you’d like to protect; export or publish (from Lightroom) the images with metadata intact, and Backlight will receive the the keywords.
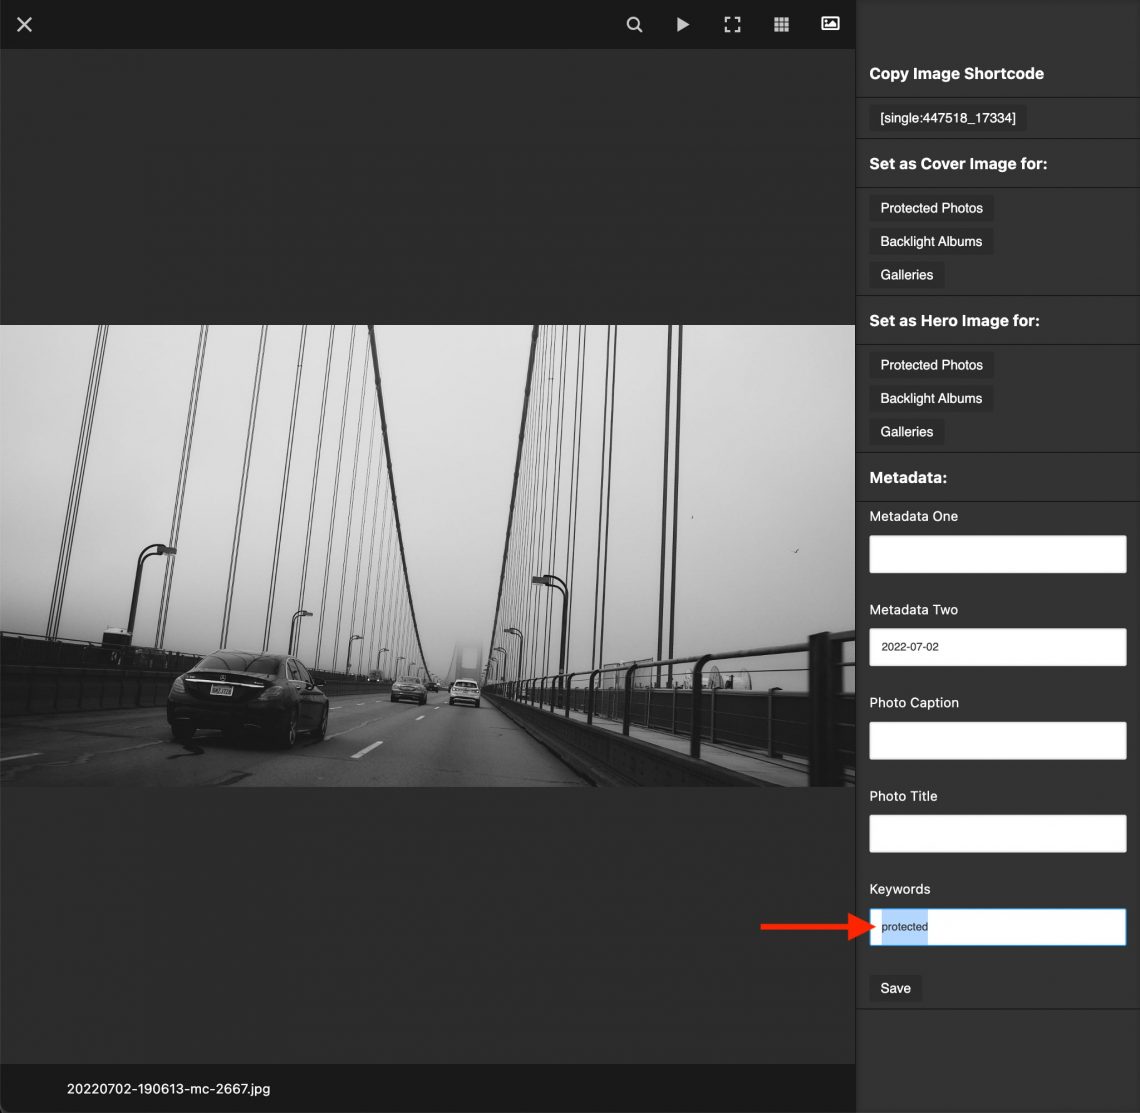
If applying the keyword in Backlight, access the Publisher section, then navigate into the desired album. Click the image thumbnail to open the image’s large view, or upload new images, then click the thumbnail.
In the large view, add your keyword and click “Save”.
Do this for each image you’d like to protect. The downside to doing this in Backlight is, we do not currently support bulk keyword editing; you will need to add the keyword to each image separately. Or, as an alternative, you can simply …
Mark Images as “Protected” via Backlight’s Publisher
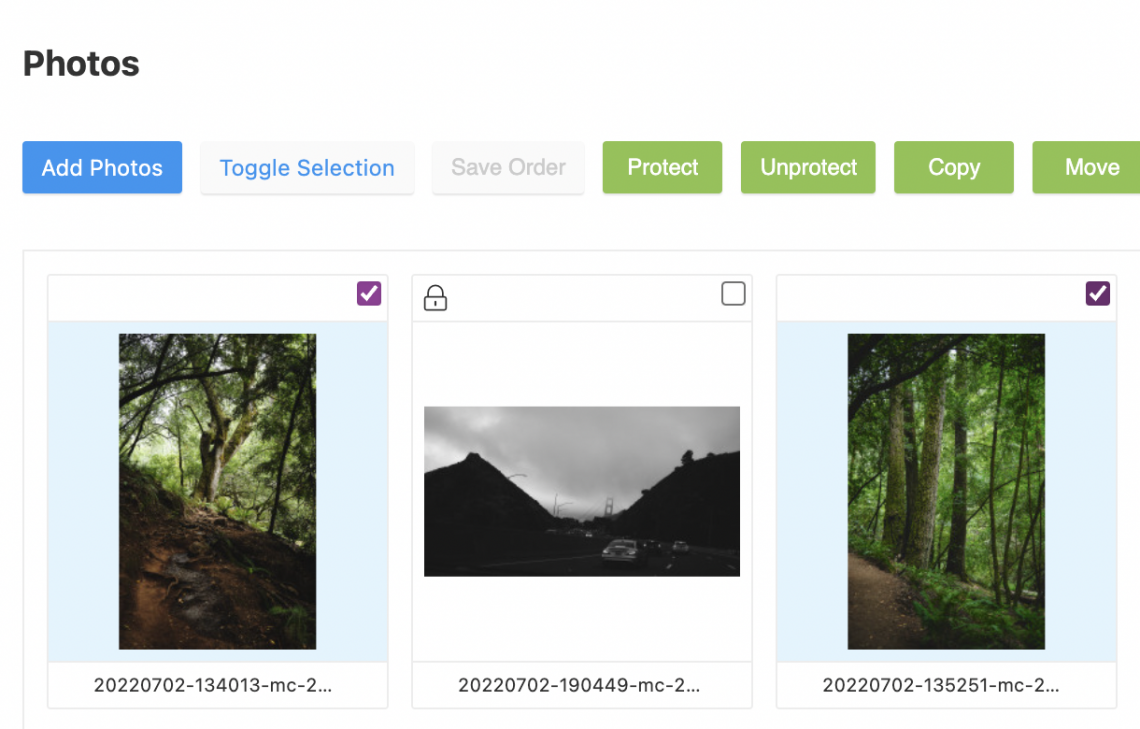
As an alternative to the keyword method, you can also mark images as “protected” via Backlight’s Publisher. This method will leave the images’ keywords unaffected, and is probably the better way to manage protection for those users managing collections in Backlight (rather than from Lightroom).
To accomplish this, select the images you’d like to protect (or unprotect), and press the green “Protect” (or “Unprotect”!) button.
Restrict Access to Protected Photos in the Album
We’ve set our magic keyword, and we’ve applied the keyword to our images. At this point, the protected images are hidden from nearly everyone. The images will only be visible to users logged in as admin; you, for example.
If you’d like to confirm the images are hidden within the album, log out of Backlight then refresh your view of the album, or open the album in a new incognito/private browser window, or in a different browser.
As a final step, we can set visibility and access options for the album, which will determine exactly who can view the protected images.
Viewing the album in Backlight’s Publisher, press the “Edit Album” button — or do this step when initially creating the album — and look under the “Privacy” group of controls.
You can also do this in Lightroom’s Publish Services. Edit the album, and locate the equivalent Privacy options.
Set the Visibility: Public, Protected or Private. This is the baseline access level for the album, and will determine how protected images will operate.
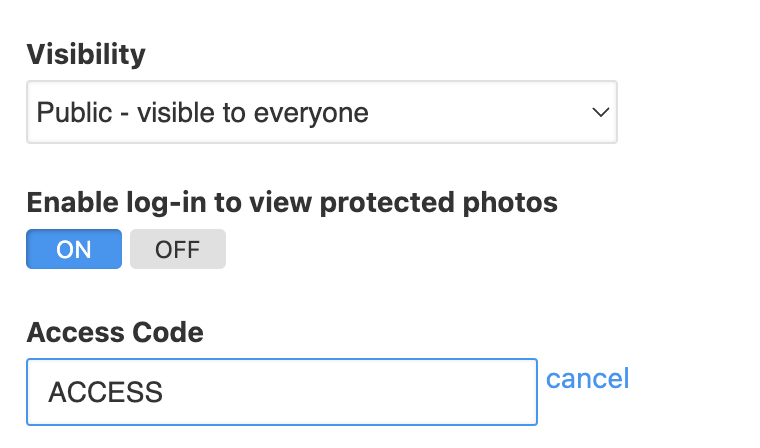
Visibility: Public
Set Enable log-in to view protected photos: ON. Then set an access code.
Visitors to the album will see unprotected albums, and will have the opportunity to provide the access code; those using the access code will be able to view protect images.
Visibility: Protected
Provide an access code. Visitors to the album will be unable to view images at all; upon entering the access code …
If Logged-in users can view protected photos: OFF, visitors will be able to view unprotected images only.
If Logged-in users can view protected photos: ON, visitors will be able to view protected images as well.
Visibility: Private
To view images at all, visitors will be required to log in; you will need to have created a user account beforehand.
If Logged-in users can view protected photos: OFF, logged-in visitors will be able to view unprotected images only.
If Logged-in users can view protected photos: ON, logged-in visitors will be able to view protected images as well.
Case Studies
Now with an in-depth understanding of how to implement the protected photos feature, let’s consider some examples how to put it to use.
Family Access
Ben has led the charge in developing the Protected Photos feature, and has put it to use extensively throughout his own website. Therefore, there’s no one better to speak on the feature. Here’s Ben, in his own words.
I use Backlight for my personal photography site. This includes a large variety of subjects, often intermingled within individual albums, with a focus on travel and family. As my albums have aged, I’ve had a nagging feeling that I needed to review my privacy settings. This came to a head when my son’s school friends had found old albums and were teasing him about them. I nipped that in the bud by password-protecting all albums that had family shots. While that solved the immediate problem, I had blocked all users other than immediate family from viewing the majority of my albums.
Backlight 5 provides a mechanism to protect individual photos within an album. This has enabled me to reopen my albums after marking photos for protection that I want to keep hidden from the general public. The approach I have taken is to set a password for my entire top-level gallery. This was simply a matter of enabling “Enable log-in to view protected photos” in the Privacy section of my “photos” top-level gallery (Backlight 5 provides this functionality within the Backlight Publisher). All child Album Sets and Albums have been set back to “public”. This approach has allowed the use of a single Access Code across my entire site for users to view protected photos; once logged in to any level of the Top-level Album set, albums within will show both protected and unprotected functions.
I managed photo protection via Lightroom. Lightroom show all photos within child albums of an Album Set when that Album Set is selected. This allowed me to quickly find photos to protect in bulk. I found all photos with my children in them, and a select few other photos (Dad bod beach photos), assigned the default “protected” keyword that Backlight 5 uses to mark photos as protected, and republished the affected photos.
Task completed; my albums are now public again for anybody to find and enjoy. Family and friends can log in to any album to view more personal photos.
Hide NSFW Images
The Protected Photos feature provides fantastic utility for those working in boudoir or nude photography.
This would allow you to post images from the shoot, with less risqué images being publicly accessible, while more sensitive images might be protected in the same album. Share the access code with your model, and allow them to share it with an audience of their own choosing.
Private Events
A wedding, for example. For purposes of displaying your recent work, you might like to have the best images from the ceremony, and of the bride and groom able to be viewed by public site visitors — perhaps by potential new wedding clients — but you can hide images of drunk, dancing relatives, or more intimate moments behind the access wall. Share the access code with the couple, and they can share it with attendees.
Apply similar logic to other exclusive events — private parties, fund-raising events, theater performances, etc.
In Conclusion
“Access is everything,” some would say.
With the new Protected Photos feature in Backlight 5, you have more granular access controls than ever before.
How might you use Protected Photos on your own site? We’d love to hear your ideas in the forum.