
One of Backlight’s most standout and powerful features is its designer.
With Backlight, the pages of your website are not locked into a uniform design or theme. While you may want to adhere to a certain degree of thematic consistency, you are free to create unique designs for any page that might require its own look.
In this article, we explore why and how you might want to create uniquely designed pages in your Backlight-powered website.
Scenarios
So, why or when might we want to create a uniquely designed page for our website? Let’s consider just a handful of many possible scenarios.
Case 1 : Holiday Studio Events
Halloween is fast approaching, you’ve done ghoulish things to your portrait set, and you want to lure local families into your basement to have their kids photographed in their Halloween costumes.
To promote the event, you create a special Halloween-themed Home page for your website, using black and orange colors to match the occasion.
Case 2 : Wedding Client Albums
You’re an engagements and wedding photographer. As a part of your photo package, you include one-year hosting of an album that your clients can share with friends and family following their shoot. On these pages, you minimize your studio branding, and coordinate with the couple or wedding planner to use their selected wedding colors, fonts from their invitations, etc.
Case 3 : Commercial Client Albums
You shoot commercially, and deliver your images with an online gallery, themed to match your client’s branding.
Case 4 : Community Pride
Your studio services the local community. You shoot school dances and events, senior portrait sessions, etc. You post albums featuring the school colors, or other appropriate styling for various events.
Implementation in Backlight
Above, just a few of the reasons you might create alternate designs for your online albums. But how can we implement these changes in Backlight? Below, a short guide on how you might spice up your special purpose templates, without losing your site’s identity.
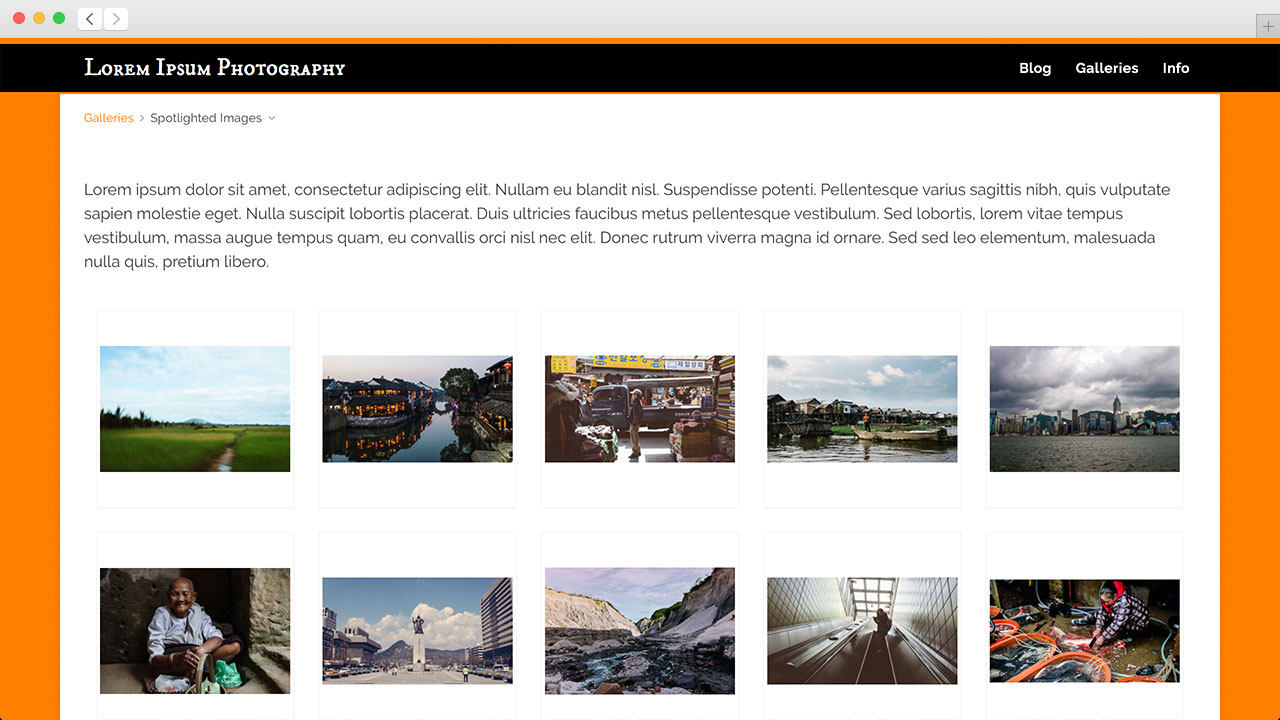
Let’s begin with a very simple design to represent our website.
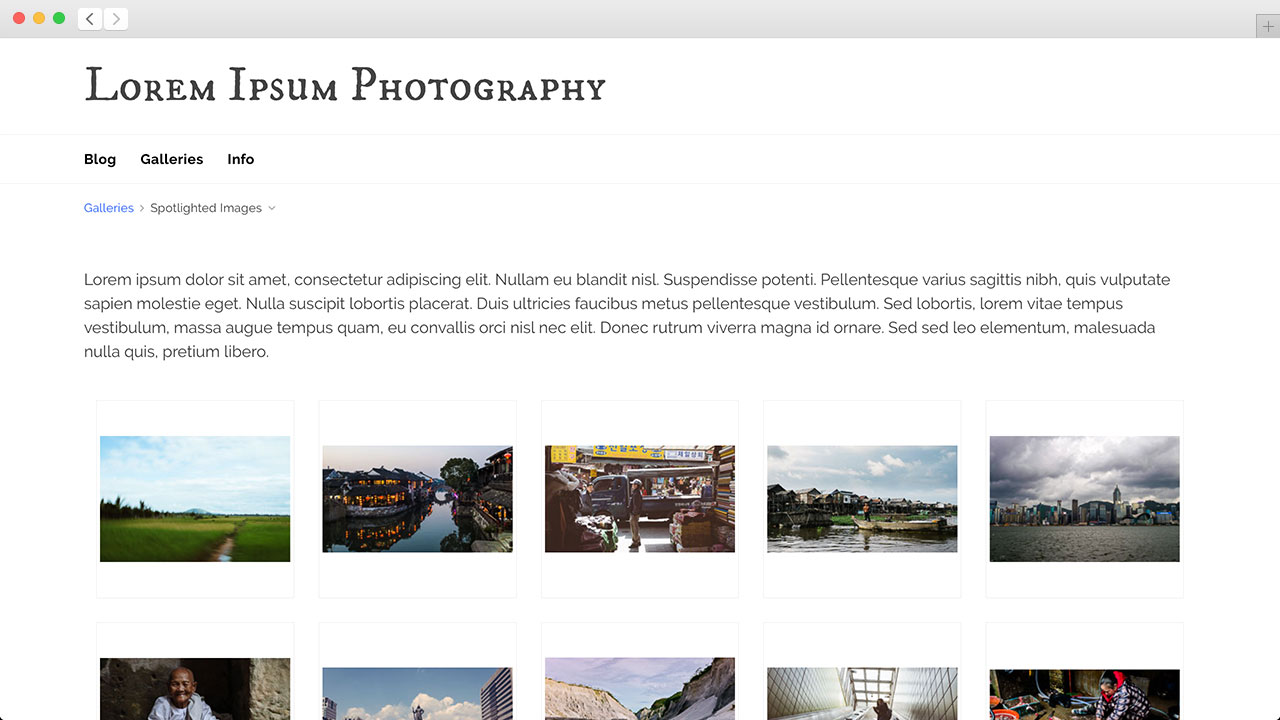
We’ll want to use our standard design as a starting point for modifications, so let’s clone it. In Backlight’s Designer, in the Template List, find your page template and click its name. On the next page, select “Clone” to create a new template. I’m going to name my template “Special Event – Halloween”.
Naming it this way, all of my “Special Event” templates will be grouped together in the alphabetical template list, for example:
- Default Page
- Special Event – Christmas
- Special Event – Halloween
- etc…
Now fair warning, I’m going to be bouncing around the designer a bit.
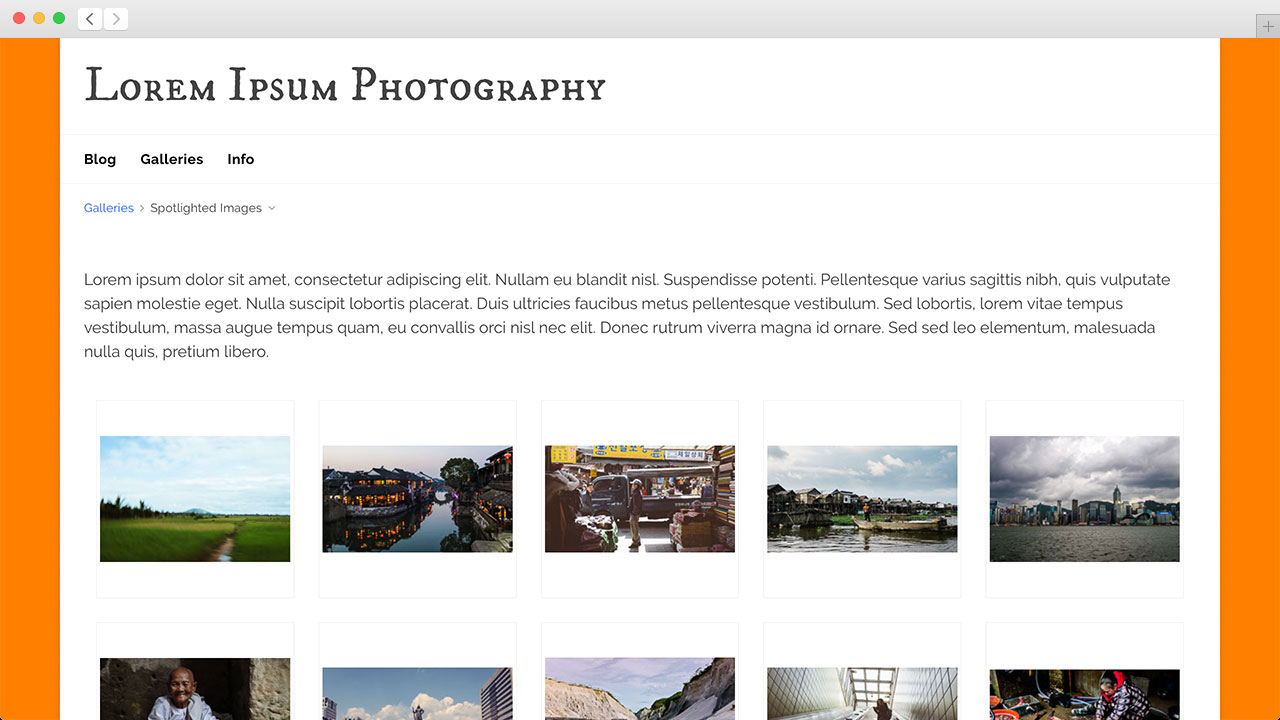
The easiest, most impactful place to make a change is to the background. Let’s first preserve our existing background for content. Set the following options.
- Layout => Strict Width Enforcement : On
- Layout => Strict Width Options => Body Background
By default, the body background is the same as the page background, so I’m setting this explicitly to white to separate the two. I can then set a new page background at:
- Background => Page Background
Choose an appropriate color for your purpose. I’m designing for Halloween, so orange it is!
Hyperlinks and buttons are low-hanging fruit for change. At the very top, change:
- Colors => Accent
Again, I’m going with orange.
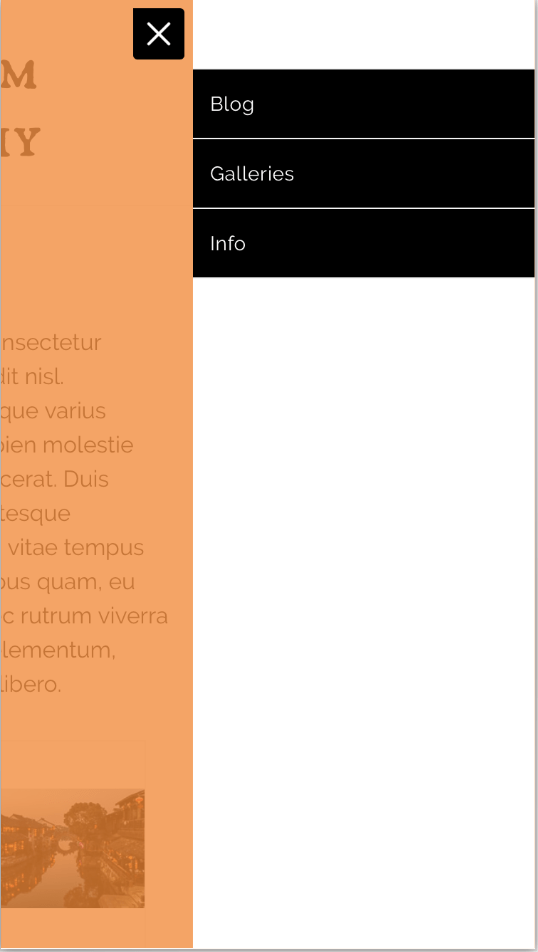
You might also want to hit your navigation colors. My design uses horizontal navigation on desktop, and vertical on mobile; be sure to update both.
And while I’m at it, I’ll change the color of my overlay when opening the side pallets on mobile. That’s at:
- Top Pallet => Pallet Toggle Buttons => Overlay Color
Orange!
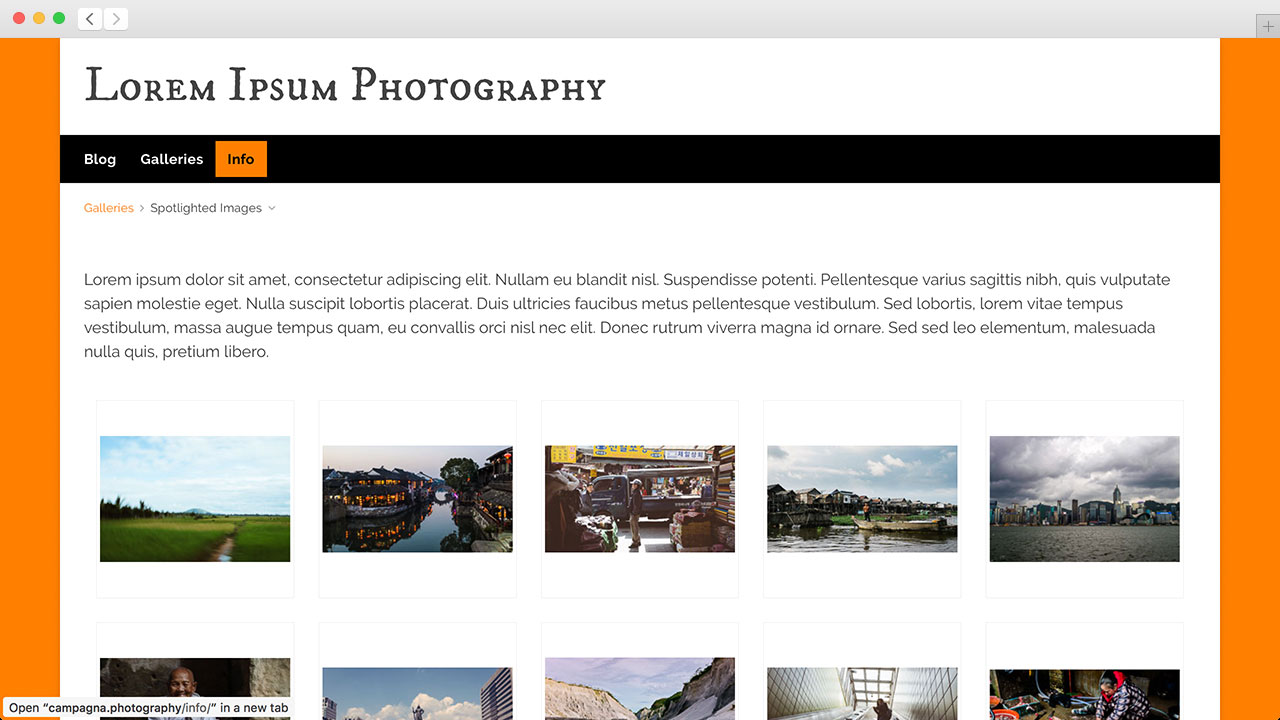
At this point, our design is looking sufficiently Halloween, while still bearing strong resemblance to the original template, and to the rest of the website. I could quit here and be perfectly happy. Or I could push things further, because designing is fun. And so, let’s rework the masthead …
To begin with, I’m going to move my site title and navigation into the top pallet.
These changes include:
- Top Pallet
- Has Height on Desktop/Mobile : On
- Background-color : #000
- Border-color : #ff8000 (orange)
- Border-top : 6px
- Border-bottom : 2px
- Masthead
- Top Pallet Title => Visible on Desktop/Mobile : On
- Primary Masthead => Location : Disabled
- Navigation
- Horizontal Navigation => Location : Top Pallet
With these changes, we’ve freed up the masthead space so that we can use it for other things. For example, I can create an event header!
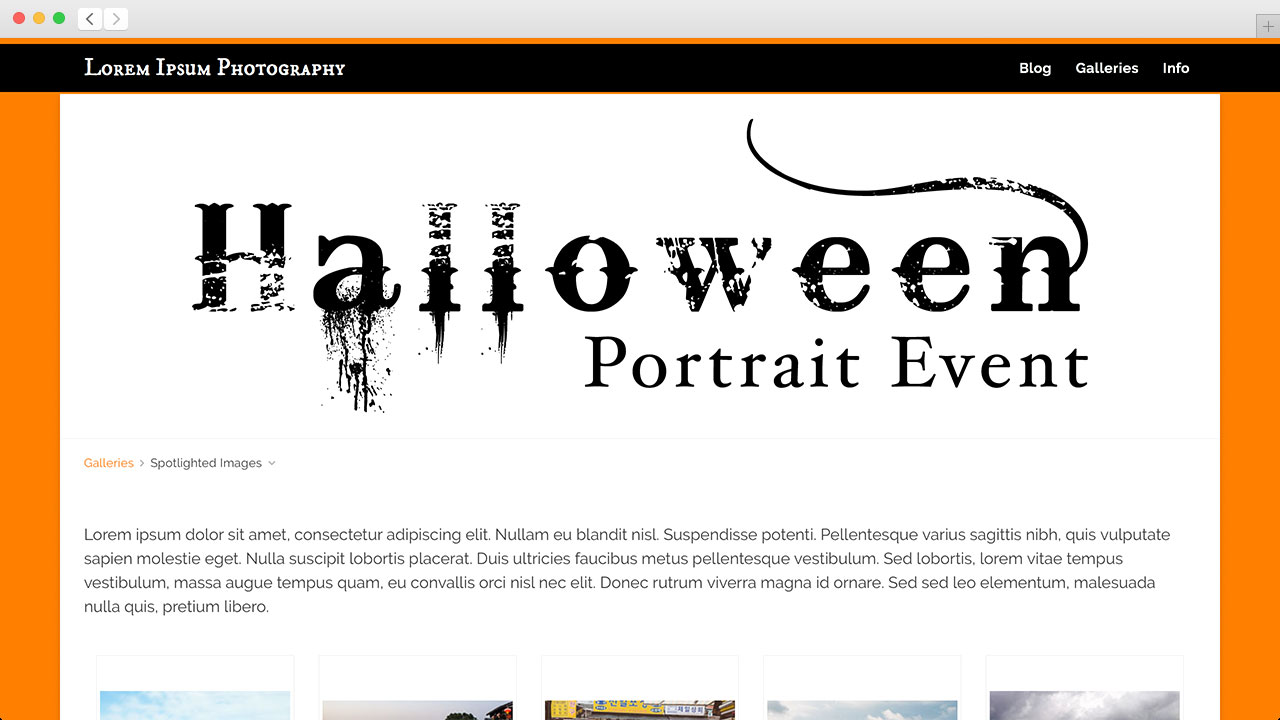
For this, I’ve prepared a title image, and uploaded that to Backlight => Designer => Uploaded Images. This allows me to select the image to be used in my masthead.
- Masthead
- Location : In the Header
- Title/Logo => Add a Logo Image : On
You can also upload a photo to use as a background for your title.
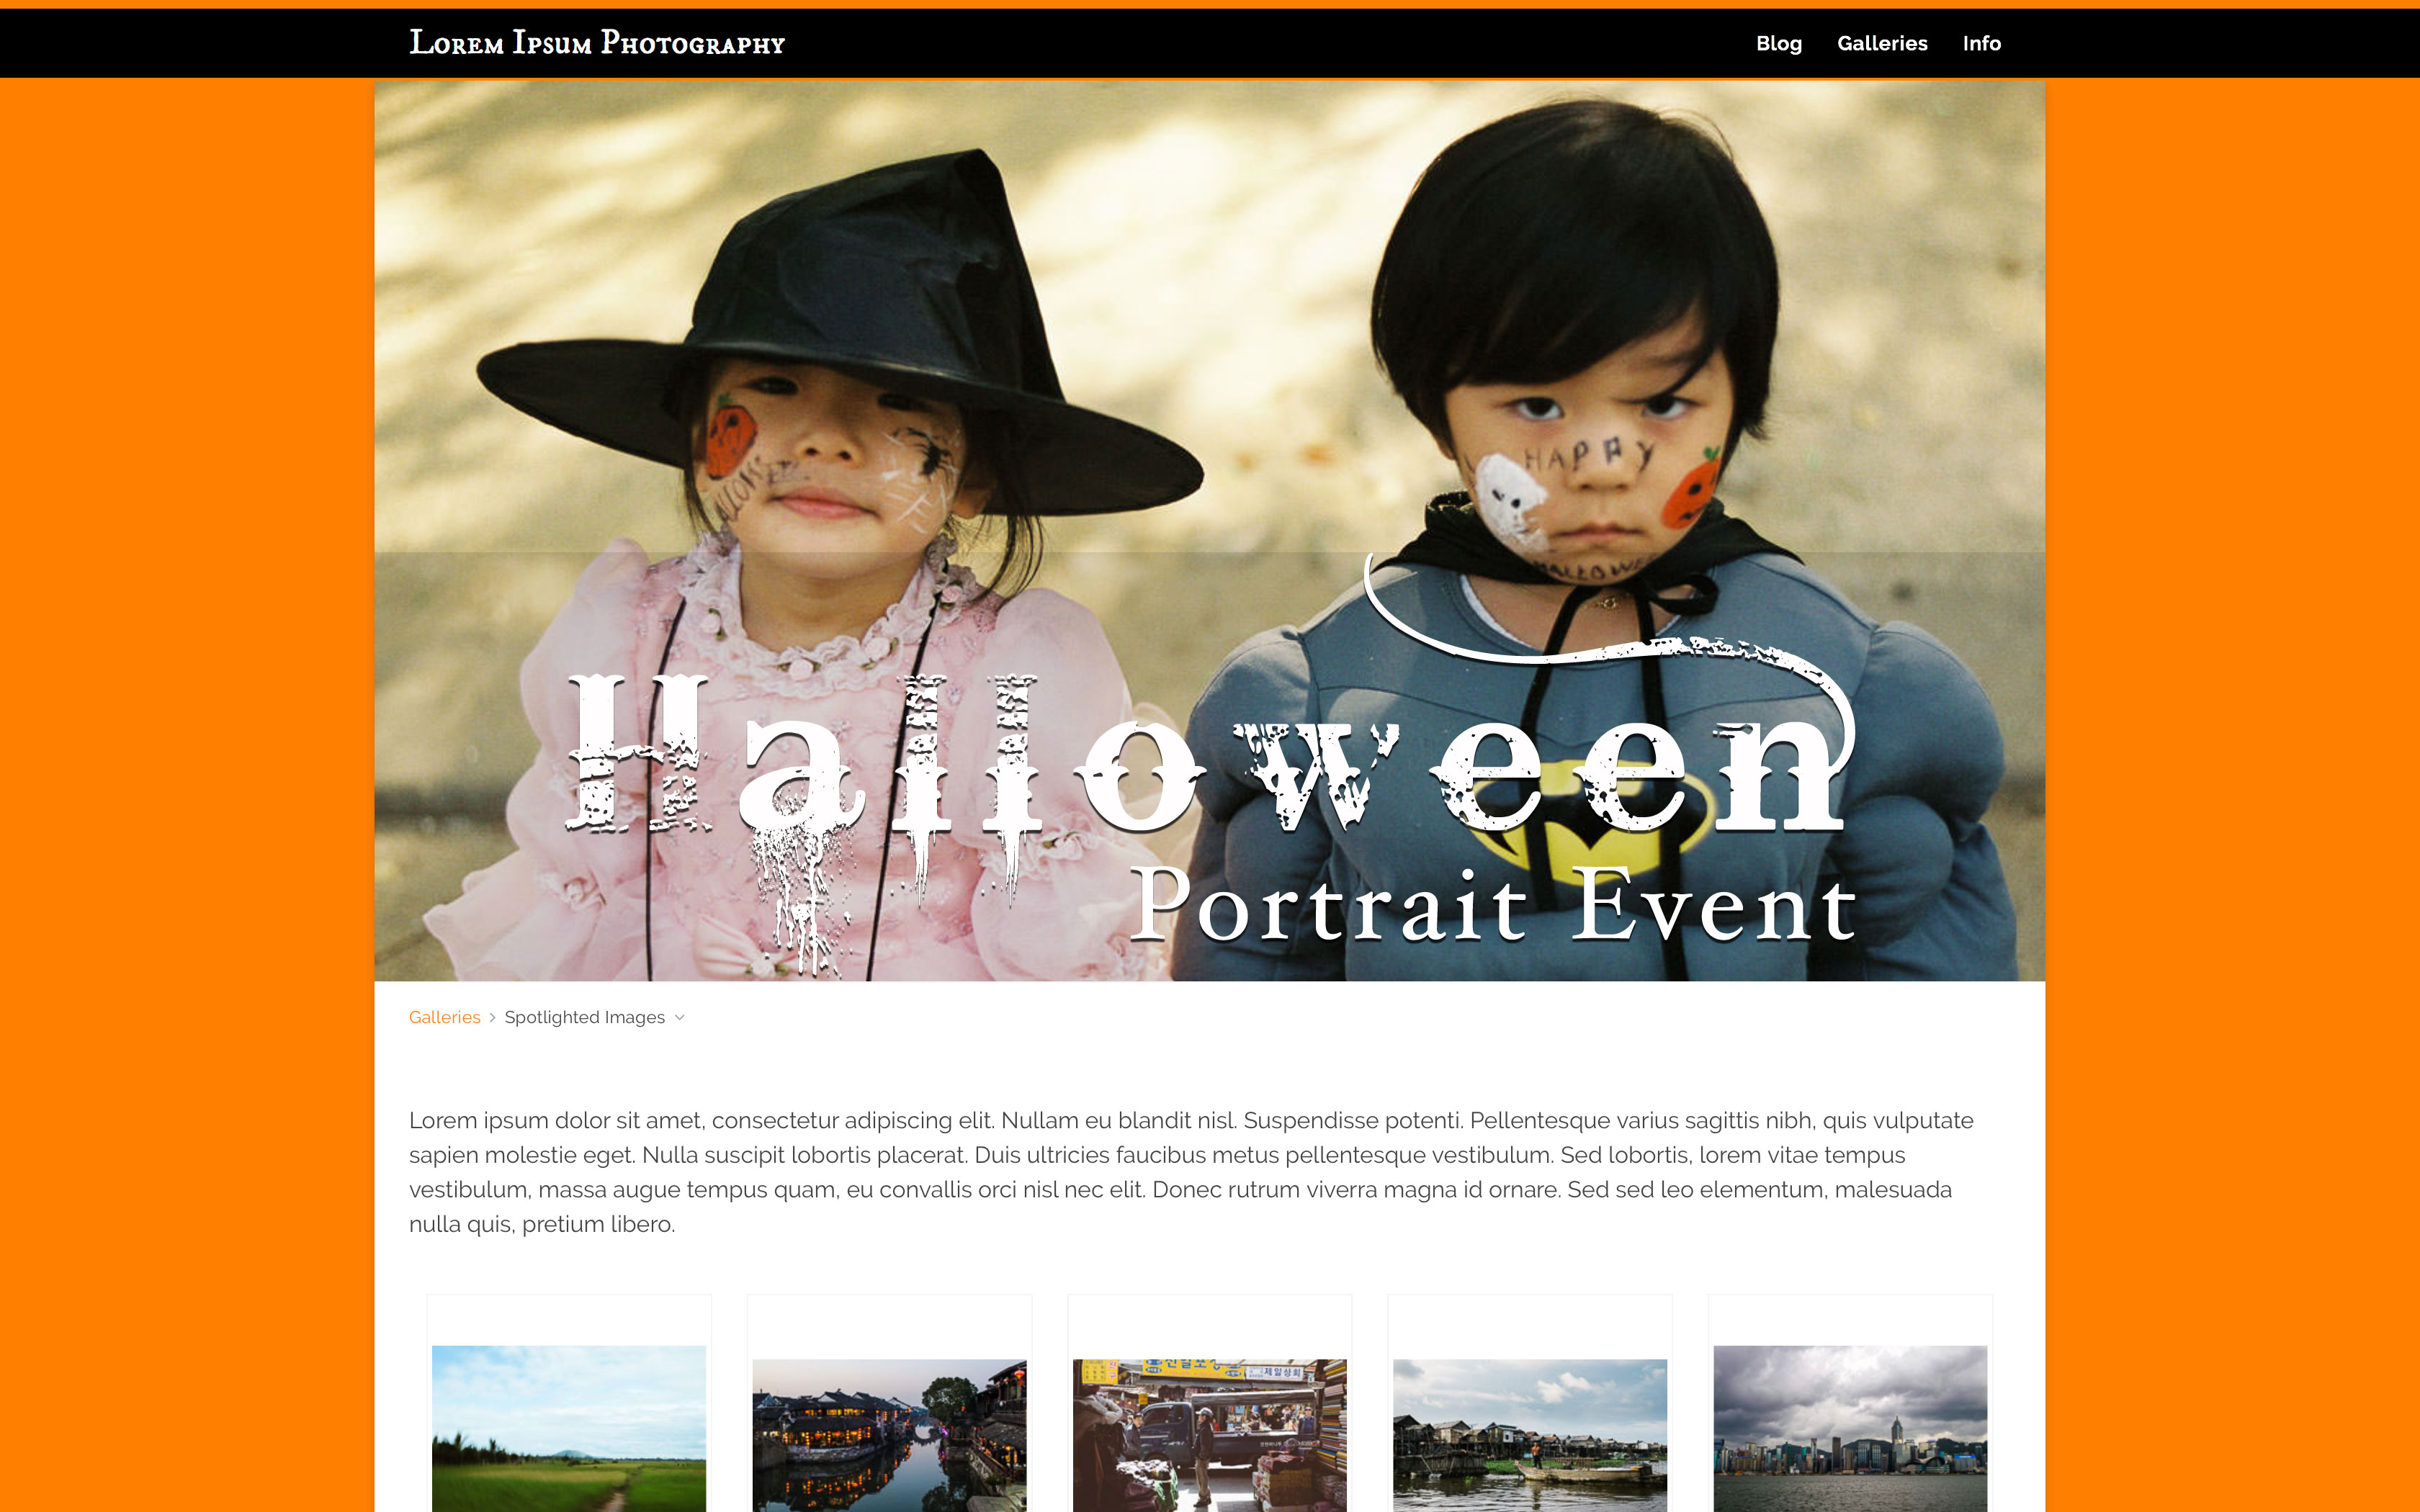
And so, without straying so far from our original design that the page become unrecognizable, we’ve managed to create a page that’s very festive for our event.
Displaying the Page
With a template complete, displaying the page on your site is pretty easy. Go to Backlight => Designer => Pages. Create a new page, and assign your template when asked.
If you’d like the event page to become your Home page, then set “Index Page : Yes”.
Otherwise, head over to Backlight => Designer => Menu Sets, and add the event page to your navigation menu.
So, are you planning to create any special pages for your website, for special events, clients or otherwise? If so, pop into the forum and let us know about it, and show us your work! We’d love to hear your ideas for using Backlight’s Designer to empower your business!